


If you're running a Silk Screen Printing Glass supply business, you know that even the smallest inconsistency in ink flow can turn a high-priority order into a costly mistake. Last month, I had a client- a commercial interior design firm- reach out panicking about a batch of glass panels for a retail storefront that came out with uneven ink coverage. Some areas were too thick, leading to cracking during tempering, while others were so thin the design looked faded and washed out. That experience drove home how critical mastering ink flow control is to our work, especially when delivering products like Silk Screen Printing Decorative Glass or Silk-screen Tempered Glass for Architecture, where precision can make or break a project. After 12 years in this space, I've tested dozens of methods, adjusted workflows, and learned from every misstep to nail this exact challenge. Today, I'm sharing the science and practical tips that have kept our orders on spec and our clients coming back.
First, let's ground this in why glass is such a tricky substrate for silk screen ink, and why ink flow control isn't just a "best practice"- it's non-negotiable. Unlike fabric, which absorbs ink to some degree, glass is a non-porous, smooth, inert surface. It doesn't draw ink in; it relies entirely on the right combination of ink formulation, screen setup, and application technique to adhere evenly and cure properly. Too little ink, and the design looks patchy and prone to scratching; too much, and you're looking at bubbling during curing, smudging post-print, or adhesive failure when the glass is laminated or tempered. For our architectural clients relying on Silk Screen Printed Glass for facades or partitions, even a 10% variation in ink thickness can mean the difference between meeting building code requirements for UV protection and falling short. That's why we treat ink flow control as part of our core quality framework, not just a production step.
Let's start with the foundation: ink selection and preparation. You can't control ink flow if you're using the wrong ink for glass, and that starts with understanding ink viscosity and composition. Most glass screen printing inks are solvent-based, water-based, or UV-cured, each with unique flow characteristics. Solvent-based inks were once our go-to for durability, but we've shifted more to UV-cured inks in recent years because they cure instantly (reducing production time) and have consistent viscosity across temperature and humidity swings. But here's the science: viscosity is a fluid's resistance to flow, measured in centipoise (cPs). For glass screen printing, we target a viscosity range of 1,500–3,000 cPs- this is the "sweet spot" that lets the ink pass through the screen mesh evenly when pushed by the squeegee, then rest smoothly on the glass without running. If viscosity is too high (thicker than 3,000 cPs), the ink won't penetrate the mesh, leaving gaps. If it's too low (thinner than 1,500 cPs), it will bleed under the mesh, creating blots.
But viscosity isn't set-it-and-forget-it. Temperature and humidity in your production space are huge variables I see small suppliers overlook. Last winter, our unheated side production bay saw temperatures drop to 55°F, and our ink viscosity rose by 800 cPs in just two hours- that's why we ended up with that uneven retail order. The fix? We calibrated our ink storage to 70°F ± 2°F and added a digital humidity gauge that triggers alerts when levels drop below 40% (too dry) or rise above 60% (too humid). We also have a dedicated ink mixing station where we do a viscosity check with a Zahn cup every morning before printing. If we need to adjust, we use the exact solvent or thinner recommended by the ink manufacturer- never tap water, which can ruin cross-linking agents in glass inks. For UV-cured inks, we adjust with a specialized flow modifier that doesn't disrupt the curing process, keeping viscosity stable without sacrificing adhesion. Next month, we're rolling out these calibration checks as mandatory for every shift, not just mornings, after that winter wake-up call.
Next, screen preparation and setup- this is where ink flow meets the physical interface between the screen and glass, and it's where a lot of suppliers cut corners. The mesh count of your screen, the emulsion thickness, and the tension of the screen all directly control how much ink is deposited on the glass. For most of our decorative glass projects, we use 120–160 mesh count screens. Higher mesh (160+) works for fine details like text or intricate patterns, but it can restrict ink flow if not calibrated right. Lower mesh (120) is bolder for large blocks of color, but too much mesh gap can lead to excess ink. The key here is tension: screens that are too loose will flex when the squeegee passes, leaving inconsistent ink deposit, while screens that are too tight will resist ink, leading to thin, uneven layers. We measure screen tension with a tensiometer before every job, targeting 20–25 N/cm for all glass work. That tension lets the screen snap cleanly off the glass right after the squeegee passes- a motion called "snap-off" or "lift-off" that prevents the ink from smudging or spreading unevenly.
Emulsion is another critical factor. We use a diazo-based emulsion, which is durable and adheres well to silk or polyester screens, and we coat it to a thickness of 15–20 microns. If emulsion is too thick, it clogs the mesh gaps and restricts ink flow; too thin, and the stencil washes out during curing. For textured glass, we adjust emulsion slightly thicker, since the surface has peaks and valleys that require more ink to fill evenly. We also pre-treat all new screens with a screen degreaser before coating, and we degrease and re-use screens up to 10 times for the same color to keep mesh consistency. I've seen competitors skip this step, leading to gunked-up mesh that causes inconsistent ink flow and wasted material. For our Silk Screen Printing Decorative Glass line, this screen prep process is why we can maintain a 98% on-spec rate for intricate patterns.
Then there's the squeegee- often the most underestimated part of the process. The angle of the squeegee, its durometer (hardness), and its pressure on the screen all control how much ink is pushed through the mesh. For glass printing, we use squeegees with a 70–80 durometer (medium to hard) because harder squeegees apply more even pressure without bending. A squeegee with a low durometer (soft) will bend too much, pushing uneven amounts of ink and leaving streaks. The angle is also key: we hold the squeegee at a 45–60 degree angle to the screen. Too steep (80+ degrees), and you apply too much pressure, forcing excess ink through the mesh; too shallow (less than 30 degrees), and you don't apply enough pressure, leading to thin ink layers. We also use two passes for every print: a "set" pass at the correct angle to push ink through the mesh, and a lighter "lift" pass to clean excess ink off the screen without disturbing the deposit. We replace squeegees every 500 prints or if we see even minor wear on the edge- a chipped edge will leave a line of too-thick ink that ruins an entire panel. Last year, we did a side-by-side test where one team used a worn squeegee and the other a new one; the new squeegee cut ink waste by 22% on our Silk Screen Printed Glass orders, a saving that adds up fast for large architectural projects.
Let's talk about application techniques, even if the equipment is set up right, a sloppy squeegee motion can mess everything up. We print on a vacuum table to hold the glass perfectly flat- any tiny shift in the glass leads to uneven contact with the screen. We also pre-wipe every glass panel with a lint-free microfiber cloth and isopropyl alcohol to remove dust, oil, or residue from cutting or handling; even a smudge of hand lotion will repel ink, leaving a blank spot no matter how good your flow control is. When the squeegee moves, we keep a consistent speed- about 4–6 inches per second- across the entire panel. Moving too fast doesn't give the ink time to flow through the mesh, leading to thin coverage; moving too slow lets ink pool, leading to thick, blotted areas. For curved glass, which we occasionally do for custom shower enclosures, we adjust the squeegee angle to match the curve of the glass, keeping pressure consistent so ink doesn't run down the sides.
Curing is the final step in ink flow control, and it's where a lot of people think the job is done. If you cure ink too fast, the surface will form a skin that traps solvent or moisture underneath, leading to bubbling and uneven thickness. Cure too slow, and the ink will flow after printing, smudging or distorting the design. For solvent-based inks, we use a conveyor dryer set to 180°F for 10 minutes, and we test ink thickness with a digital micrometer every 10 panels, targeting 25–30 microns for decorative work and 35–40 microns for architectural glass that needs to hold up to weather. For UV-cured inks, we use a LED UV system with 395nm wavelength, curing for 2 seconds per side- instant, consistent, and perfect for thin, even deposits. We also have a quality check station where every panel is inspected for ink thickness with a micrometer, and we log every reading. That's how we catch a shift in ink flow early, before it ruins a whole batch.
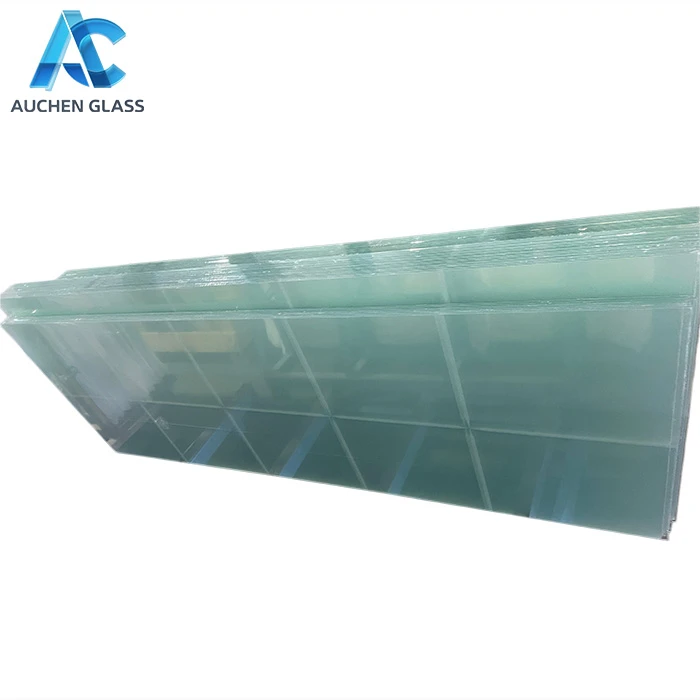
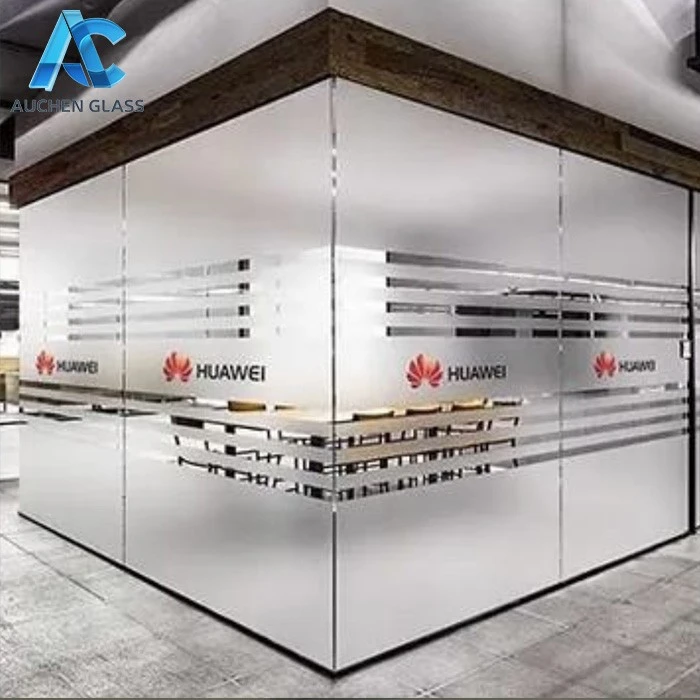
I've tested all the wrong ways over the years: using generic ink, skipping screen tension checks, cutting squeegee corners. The key takeaway is that ink flow control on glass isn't about one trick- it's a chain of consistent, calibrated steps from ink mixing to curing. For our business, mastering this isn't just about avoiding mistakes; it's about delivering the high-quality Silk Screen Printing Glass and Silk-screen Tempered Glass for Architecture that our clients rely on. Last month, we got a call from that same retail design firm- they needed a rush order for a new location, and we pulled off the job without a single misstep, thanks to the processes I mentioned. They ended up referring us to three more commercial clients, which tells me that getting this right pays off.
If you're a designer, architect, or business looking for reliable, consistent silk screen printed glass, we've spent years refining these techniques to deliver products that meet your exact specs- from decorative panels to structural architectural glass. Our team is happy to walk you through our quality processes, answer questions, or help you find the right solution for your project. To learn more about our line of Silk Screen Printing Decorative Glass or browse our full range of Silk Screen Printed Glass, visit our website. For architects working on large-scale projects, our Silk-screen Tempered Glass for Architecture is engineered to meet industry standards while maintaining precise ink flow control, ensuring your project meets all performance and design requirements. We're here to help you every step of the way.


